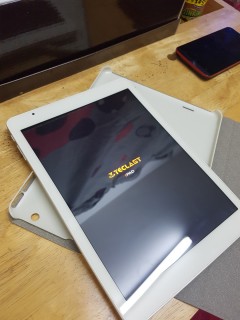
Recently, i decided to reinstall back Android partitions to my Teclast X98 Plus tablet. Previously, i have removed all partitions and do a clean installation of Windows 10 in a single partition on the hard disk. I did clear off all other unused partitions including the EFI Boot partition which is required for the dual booting options for this tablet.
So i end up spending so much time on the web to research and study on how to do a complete recovery for Teclast X98 Plus. I managed to find some articles over the web and some suggested to use WinPE and completely restore back using the image. I've tried that but unfortunately it won't restore back my deleted Android partitions nor UEFI boot partitions as it sets Windows as it default's UEFI boot manager.
Finally, i managed to restore my Teclast X98 Plus with Android partitions and rom by using another method. Therefore, i decided to publish this article hoping that it might help anyone that may have similar issues like mine.
STEP 1 - ANDROID RECOVERY
| Determine first whether you have the correct Teclast X98 Plus model. There are many variant of X98 models such as A5C6, A5C8, A6C7, A6C9 and many more. I am using Teclast X98 Plus Gold Edition bought in Malaysia and my model was A5C8. |
| Download the required files first. Refer at the bottom of this page to download the required files. Again, please make sure that you have the correct model, otherwise you might end up killing your tablet. |
| Extract the files, and please install the drivers first. Execute the following files: 1-FIRST_ INSTALL_ IT_!_(ADB_drivers).exe 2-SECOND INSTALL_IT_!_(Intel_ADB_drivers-1.10).exe |
| Restart the computer to ensure that the driver has been successfully install. |
| Now, you need to start the DnX mode for the X98 Plus. To do that, shut down your tablet and when is OFF, press and keep the power and volume buttons for a few seconds untill you can see the "Entering the DnX mode, waiting for fastboot command". Note: if you are cannot get the DnX mode at all, check the BIOS setting to ensure it is enabled and select the "UEFI: Built-In UEFI Shell". |
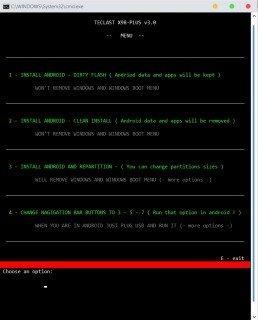
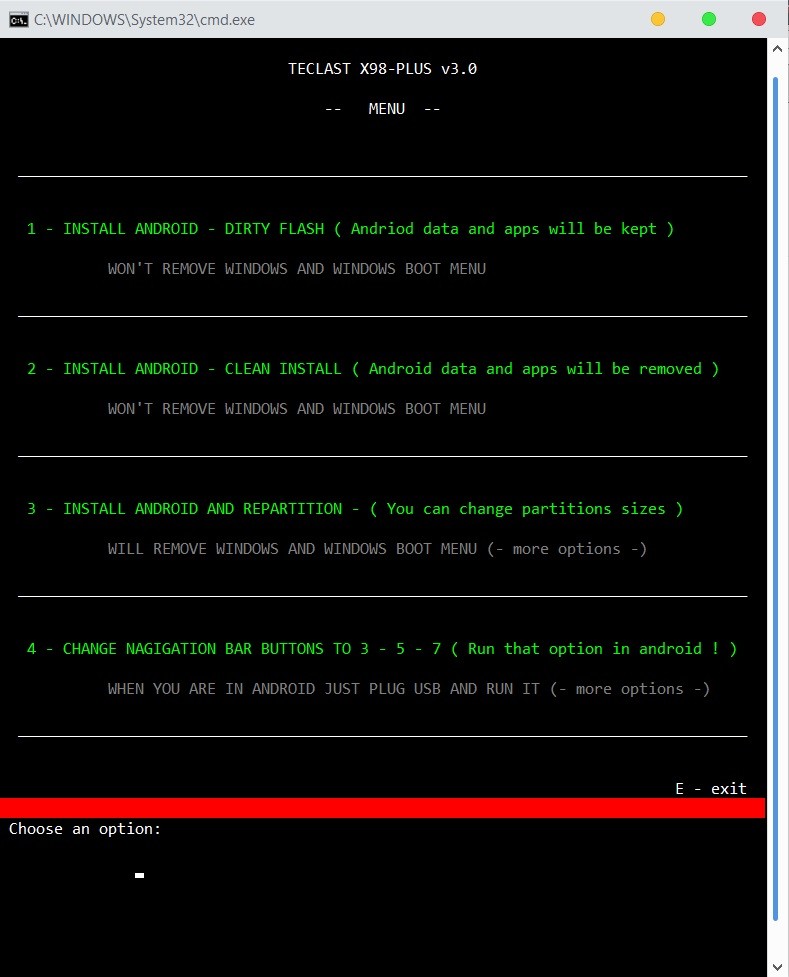
| Now, connect the tablet to the computer and run the following file:- FLASHER_v3.0-(-just_press_twice-).bat |
| Choose option 3 for "INSTALL ANDROID AND REPARATION" option. Anyway, you can actually set the size of your ANDROID rom. Below are the available partition sizing. 1GB System 2GB Data 1GB System 3GB Data 1GB System 4GB Data 1GB System 5GB Data 1GB System 6GB Data 1GB System 8GB Data 1GB System 10GB Data 1GB System 12GB Data 1GB System 16GB Data 1GB System 20GB Data 1GB System 30GB Data 1GB System 40GB Data 1GB System 56.5GB Data Bear in mind that let's say you've selected "1GB System and 2GB Data" option, your balance hard disk size will be used for Windows partition later. So, decide properly which one you want to maximize. Once decided, navigate to the PARTITIONS folder, and copy the "gpt.bin" file the ROM folder. |
| Then proceed with the recovery by choosing "Yes" once you have copied the "gpt.bin" file. |
| The device will take sometime to reflash everything. Just wait until your ANDROID boots up. After done, let's continue with Windows recovery. |
STEP 2 - WINDOWS RECOVERY
For Windows installation, you can either install using downloaded Windows 10 ISO from Microsoft or do a recovery. If you have used Windows 10 previously on your tablet and have bind your Windows Activation key with your Microsoft account, you can do that easy way, otherwise you might need to do recovery method to install Windows.
WINDOWS 10 Normal Installation
Assuming that you have bind your Windows Activation key previously, download the latest version of Microsoft Media Creation tool. This software can help you create a bootable USB drive to install Windows 10.
Install the Windows 10 normally, and once finished you may need to install all the drivers. Download the Teclast X98 Plus driver from the page below and start installing all the driver. To do that, just navigate to Windows Device Manager and install all the drivers for hardware. Please don't forget to install the Intel Display Adapter driver as well as default Windows 10 Intel HD drivers is having issues with the Teclast X98 Plus touch issue.
Lastly, you need to copy "TouchSetting.gt" to your "Windows\System32\Inf" folder to ensure the correct touch calibration settings for the Teclast X98 Plus.
WINDOWS 10 Recovery Installation
This method is a bit difficult than the normal installation but it is to the best to reserve your Windows activation key. Refer steps below.
| Format FAT32 32Gb USB stick and put the name of your USB pendrive "WINPE" (very important!) |
| Exctract/unzip Windows 10 teclast edition to the root or your USB pendrive. (depends on your model number) X98.Plus(3G)Win10.2016.03.03.rar X98.Plus(3G)Win10.2016.03.03.rar (A6C9) X98.Plus(3G)Win10.2016.03.03.rar (A6C7, A5C8, A6C7, and A6C9) |
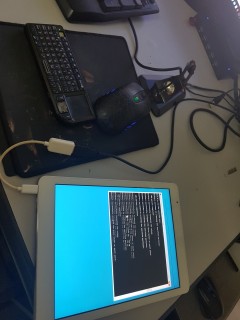
| Connect USB-Hub with USB pendrive and a USB keyboard to the tablet |
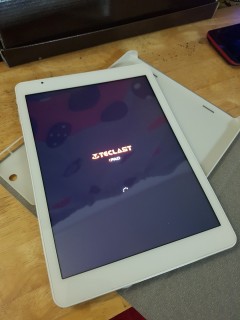
| Turn the tablet and logo Teclast DELETE pressed repeatedly in "OS IMGE ID" select "Windows". F4 and save the changes. |
| Turn on the tablet and hit F7 on keyboard and choice your USB key. the installer will start and you will get blue screen error (thats normal!) |
| Wait the tablet reboot and hit again F7 and choice your USB key |
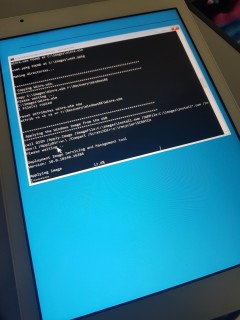
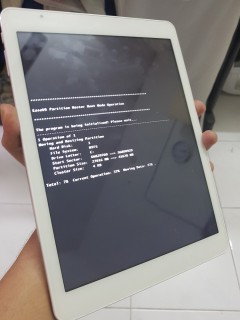
| Do that until the installer start to install Windows 10 |
Once done, you do not need to install the drivers as the Windows 10 recovery is already pre-configured with drivers and everything.
The only drawback of this method is that you end up using the old version of Windows tablet, and to update Windows on this tablet is really a painful experience, mainly because of the lack of disk space. It is possible to update, but really painful as you need to use USB pendrive to host the installation files.
X98 PLUS (A5C8) Android 5.1 Mirek190 V3
X98 PLUS (A6C7) Android 5.1 Mirek190 V3
X98 PLUS 3G (A6C9) Android 5.1 Mirek190 V3
X98 PLUS Stock Android Rom
WINDOWS RECOVERY
WinPE Recovery Disc Image for Teclast X98 series
WINDOWS 10 DRIVERS & TOUCH SETTINGS
Windows 10 X98 Plus Drivers
Touchsettings.gt
TeclastX98 OS Switcher (for Windows)
Note: This was recently uploaded by me since i have forgotten to upload all these files previously. For WinPE, extract the zip files and use any common Bootable disc maker such as Rufus & etc.






Comments 2
The downloads at the bottom are all blocked and cannot be accessed.
Are you able to re-upload them elsewhere? They are impossible to find online.